Working with annotations
To add a new annotation to the flowchart, right-click in an empty area of the flowchart and select Add annotation.
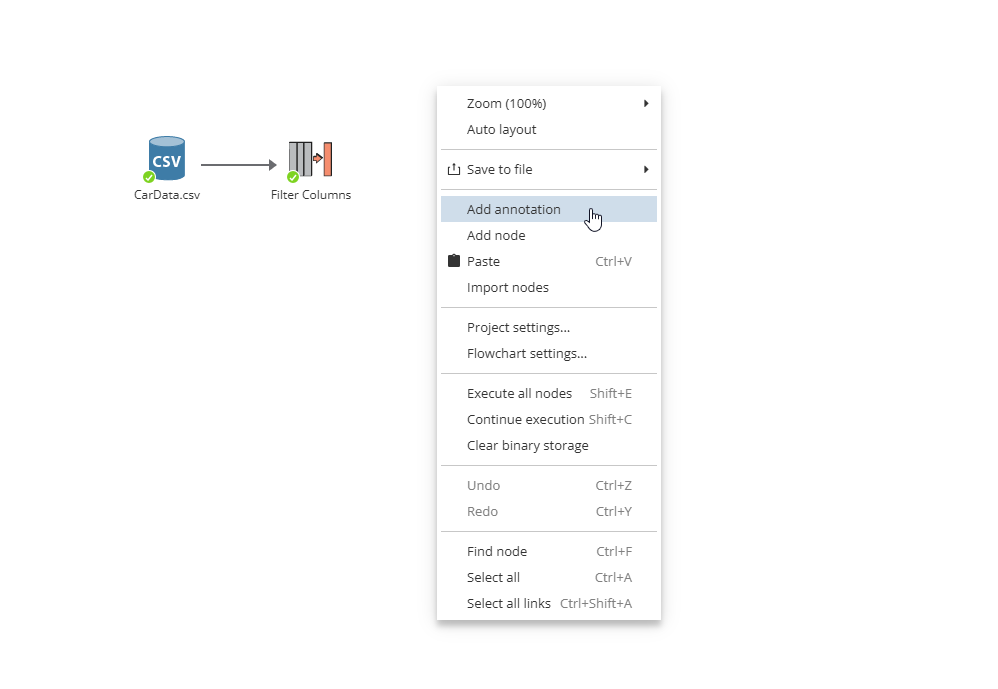
PolyAnalyst creates a new annotation item on the flowchart and opens its window for you:
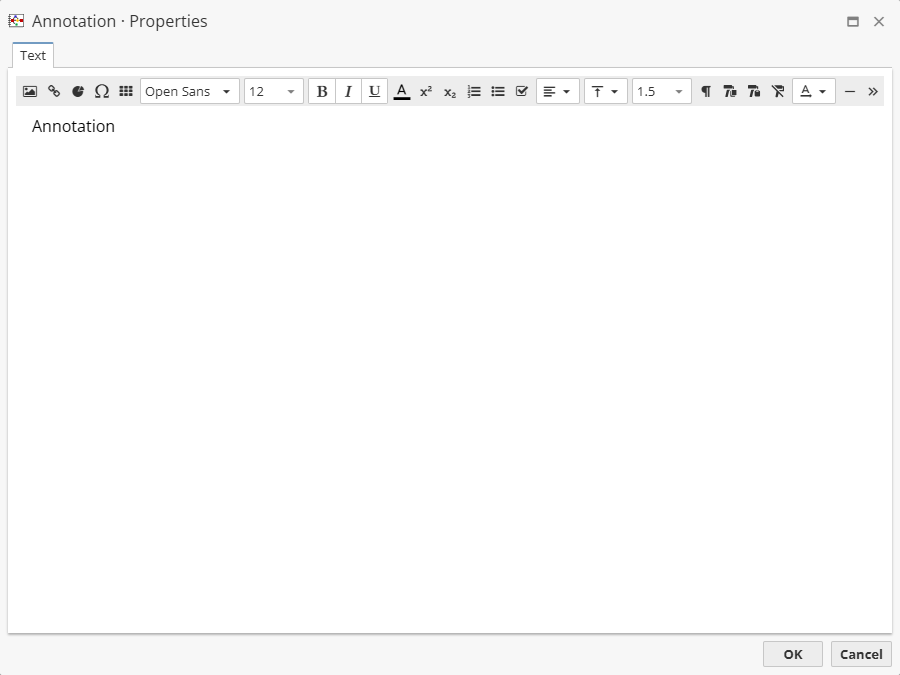
Enter the text to display in the Text tab. Customize the font using the toolbar above the text field.
| The annotation borders are automatically set according to the content of the annotation. |
When you are finished changing properties, click the OK button to update the annotation to use the newly configured properties. Click Cancel to close the Properties window and not save your changes.
| Even if you click Cancel, the annotation is still created, and you will need to delete the annotation as a separate task. If you make a mistake when creating the annotation, you can always return and edit the annotation’s properties. |
Similar to how you can manipulate nodes, annotations can be deleted, cut, and copied into another project.
Annotations options are described further.
Annotations options
Annotations options can be divided into several groups, i.e.
-
special options
-
text options
-
other options
Let’s discuss each one in detail.
Annotations special options
There are following options available, i.e.
Add image – allows to insert an image on the flowchart.
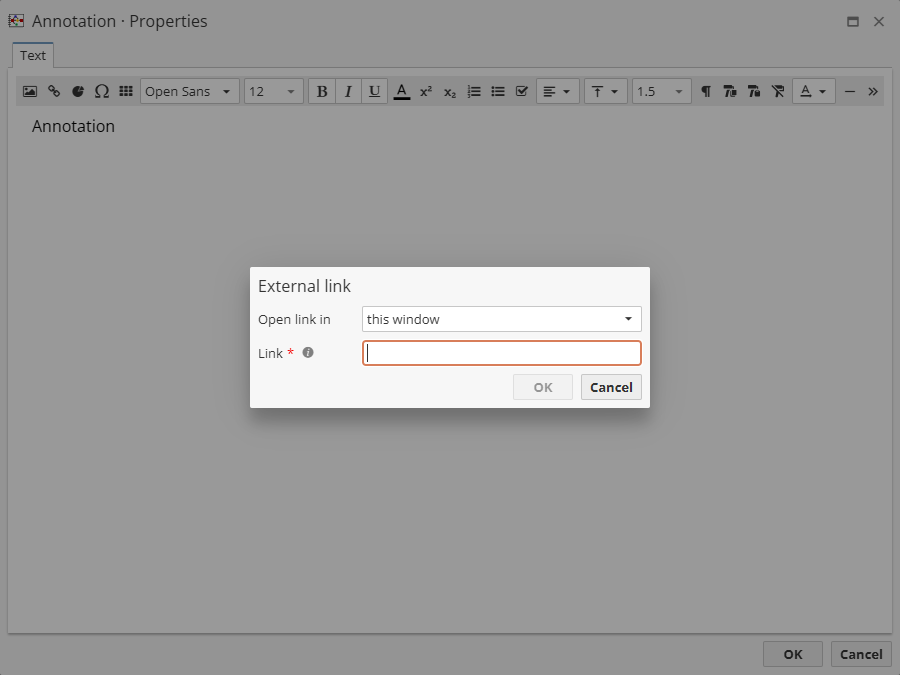
Insert link – allows to add a link for a selected text. Note that one can choose an option where to open the link, i.e. in a new window, always new window or this window of your web browser.
Add chart – allows to insert a selected a chart of the project. One must add a visualization node and then choose a chart. Note that in this case such a chart is being exported via the Export to File node.
Insert special characters – allows to insert a special character. Note that there are different types of characters available via a drop-down menu.
Add table – allows to add a table.
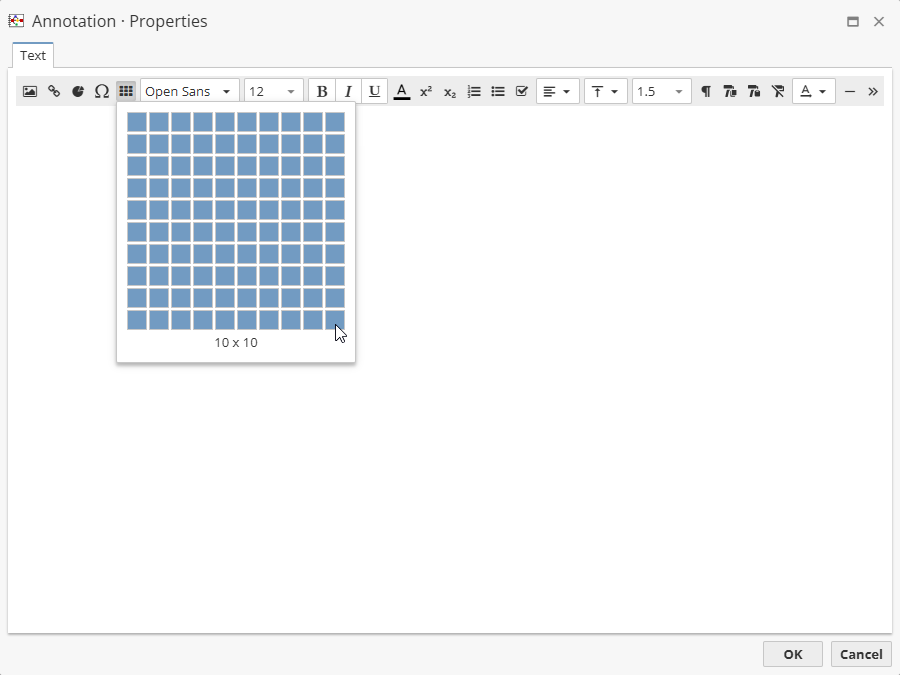
Note that the table area can be of 10x10 cells maximum.
Annotations text options
Choose font – allows to choose a font from the drop-down menu. Note that one can add a custom font as well.
Choose font size – allows to set a font size with a minimun value of 6 and 400 as a maximum one. Use the additional options to make the text bold, italic or underlined.
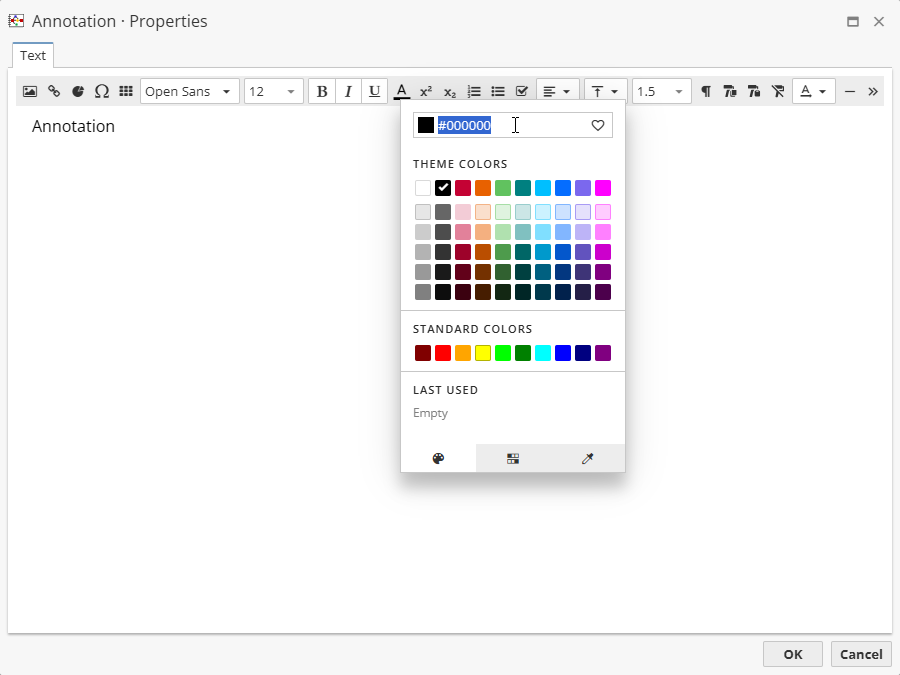
Use the Font color menu to set the text color:
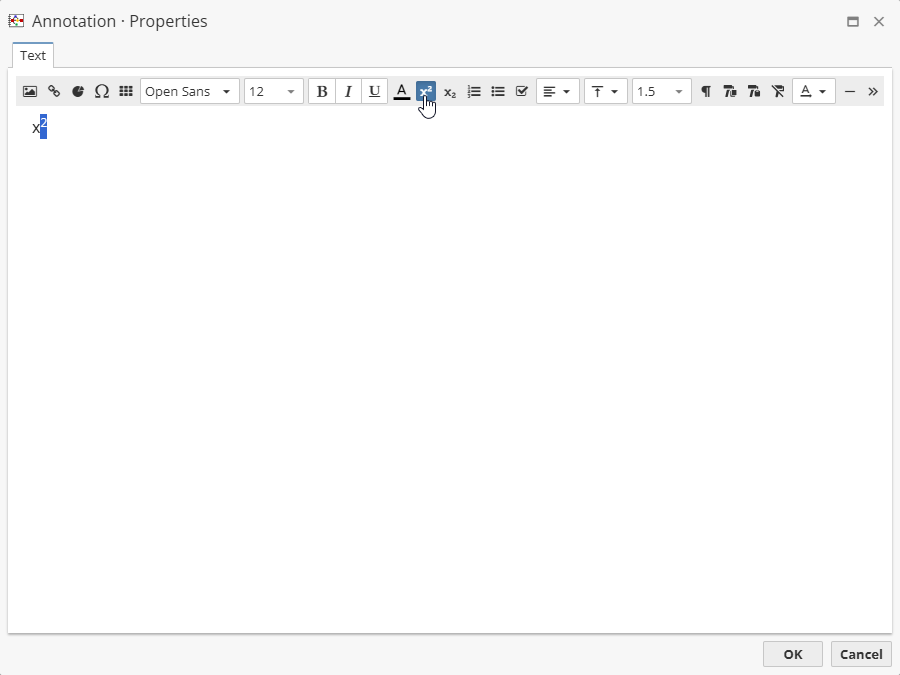
The Superscript and Subscript options allow to change the text accordingly.
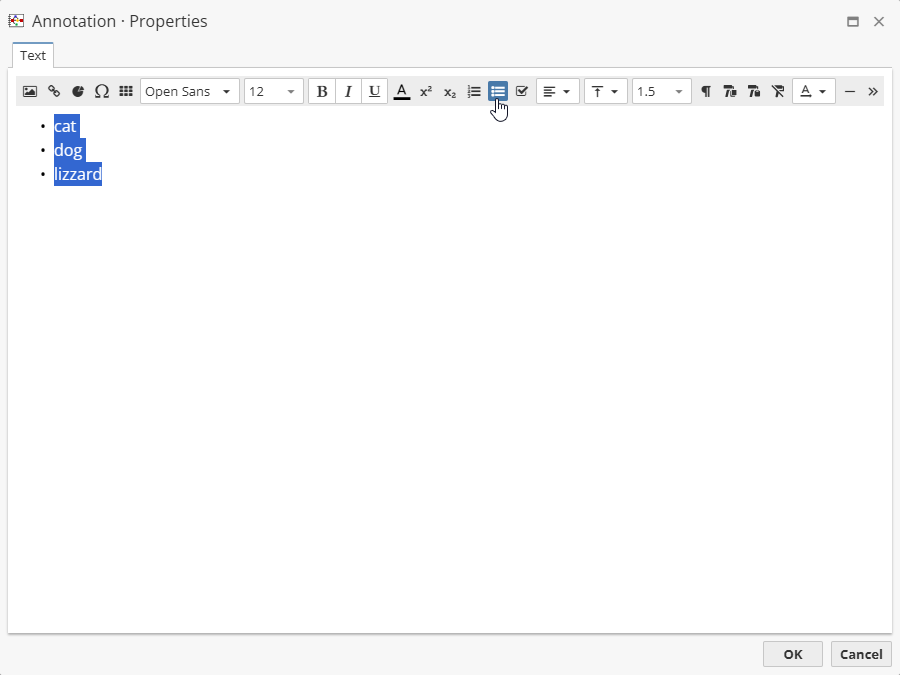
One can make lists as well, e.g. a Numbered list, Bullet or Checked one.
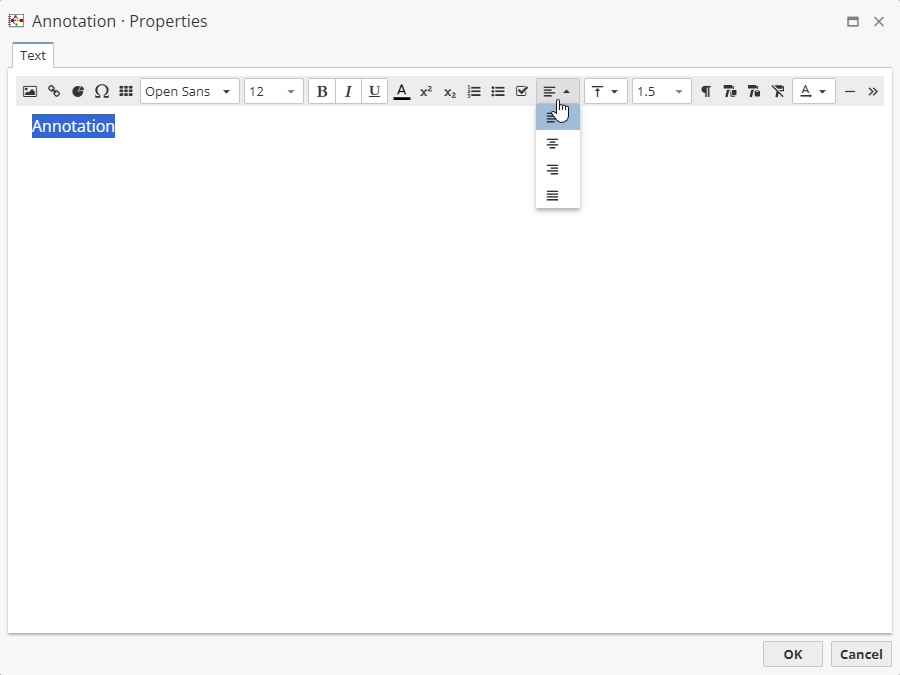
Choose the text horizontal alignment, e.g. Left, Center, Right, and Justify.
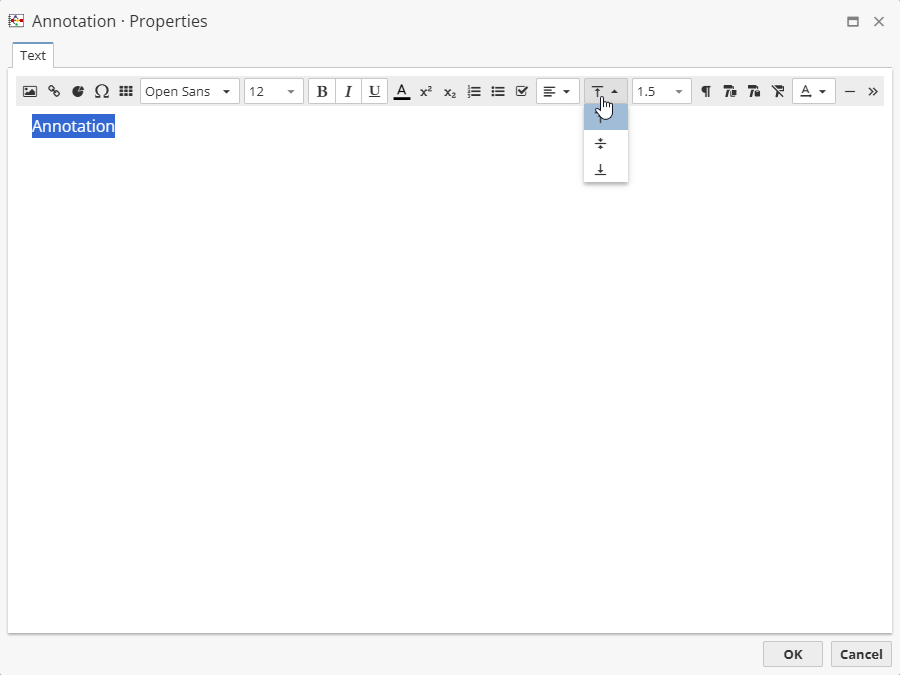
Set the text vertical alignment, e.g. Top, Middle and Bottom.
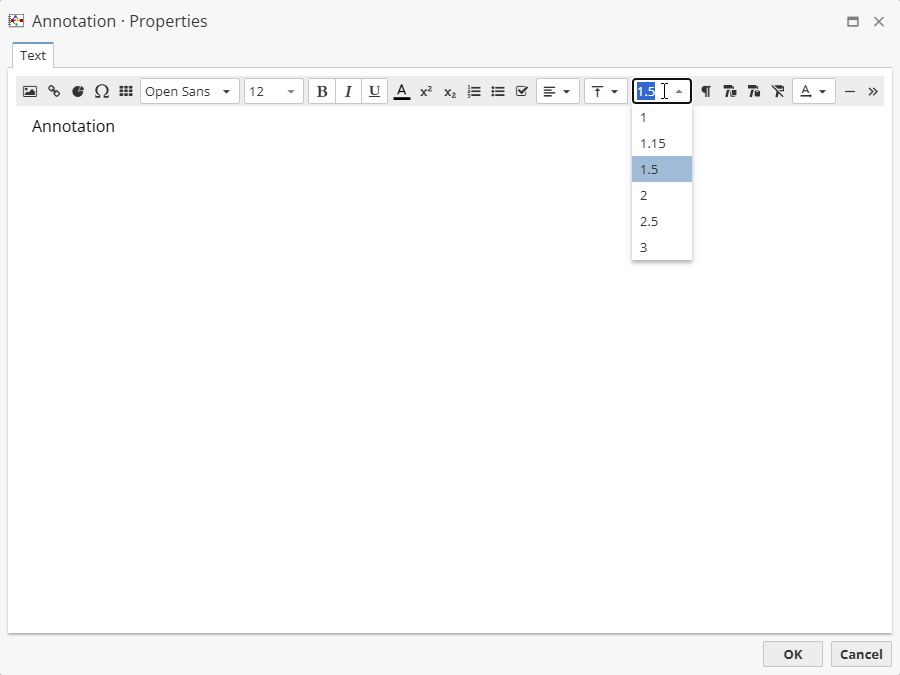
Set the text interval as well.
Set the paragraph spacing options:

One can also select the entered text to copy or insert the formatting options as well as delete them completely.
The text rotation can be set as well, i.e. horizontal rotation is used as a default one.
Annotations other options
The rest of the settings are used to set the annotation border and color options, i.e.
-
Insert horizontal rule – allows to set a horizontal line as a text divider.
-
Background color – allows to set the background color.
-
Fit size to text – allows to fit the size of the annotation to the given text.
-
Annotation sizes – allows to set the annotation size manually.
-
Wrap text – allows to toggle the text wrapping.
-
Border properties – allows to set the border settings.
-
Padding properties – allows to padding settings.
Maximize the annotation window to extend the annotations toolbar options.
Default formatting options of annotations
To edit the annotation formatting options, set defaults go to Flowchart settings… and select Annotation:
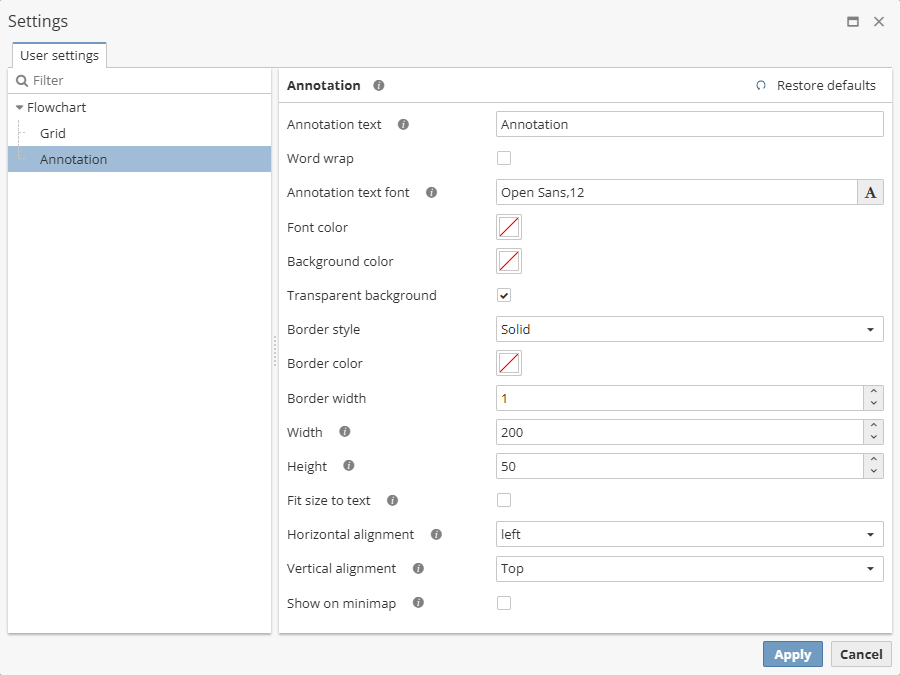
There are following options available, i.e.
-
Annotation text – set the default annotation text.
-
Word wrap – enable this option if you need the text to fit the annotation size and move the annotation borders on the flowchart manually.
-
Annotation text font – set the default annotation font to be used.
-
Font color – select the color of the annotation text from the provided color palette.
-
Background color – set the background color of the annotation.
-
Transparent background – enable the option to make the annotation background transparent even if Background color is selected.
-
Border style – select the style of the annotation border.
-
Border color – select the color of the annotation border from the provided color palette.
-
Border width – set the width of the annotation border.
-
Width – set the width of the annotation.
-
Height – set the height of the annotation.
-
Fit size to text – enable the option to automatically change the annotation size according to the text.
-
Horizontal alignment – adjust the horizontal alignment of the annotation text.
-
Vertical alignment – adjust the vertical alignment of the annotation text.
-
Show on minimap – enable this option to display the annotation on the minimap.
These default settings apply only to new annotations.
Using annotations as a frame for logically connected nodes
If there are nodes given within the annotation, one can Alt-click the annotation to choose all enclosed nodes:
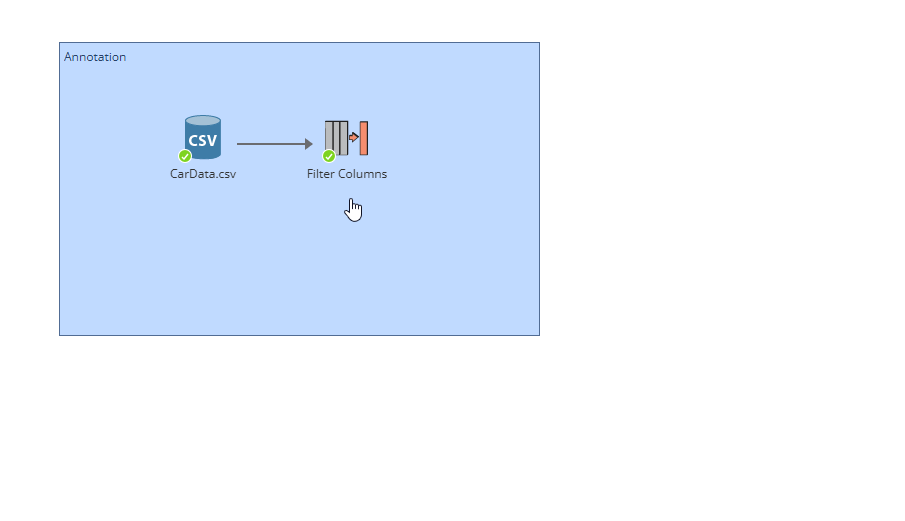
One can also right-click within the annotation and select Select inner nodes from the context menu.
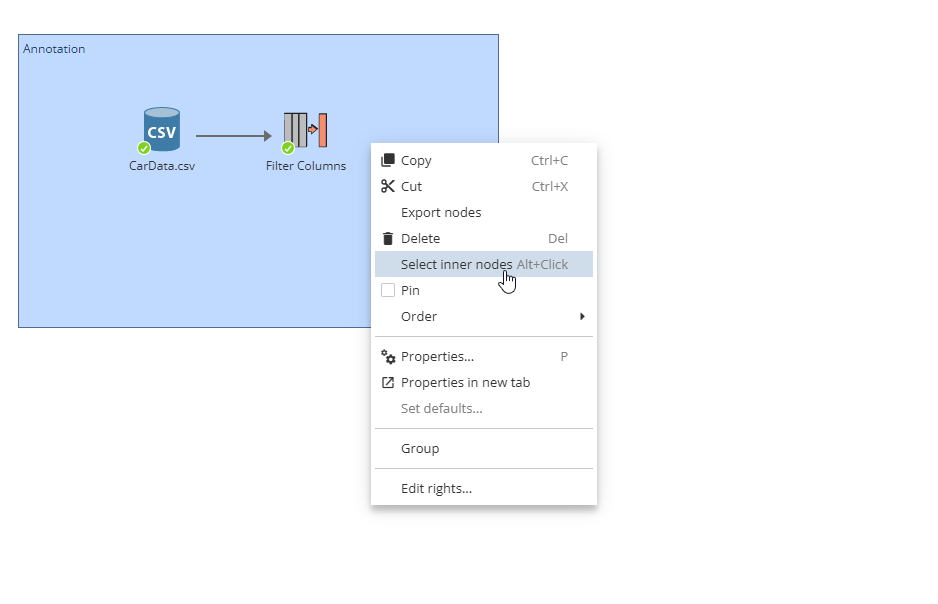
All the selected items can be repositioned (for this hold Alt and move the annotation with a left-mouse click), copied into the clipboard, cut and deleted.
Locking annotations
To disable the ability to delete, edit, or move created annotations for the current project, check the option Lock annotations in the Project settings:
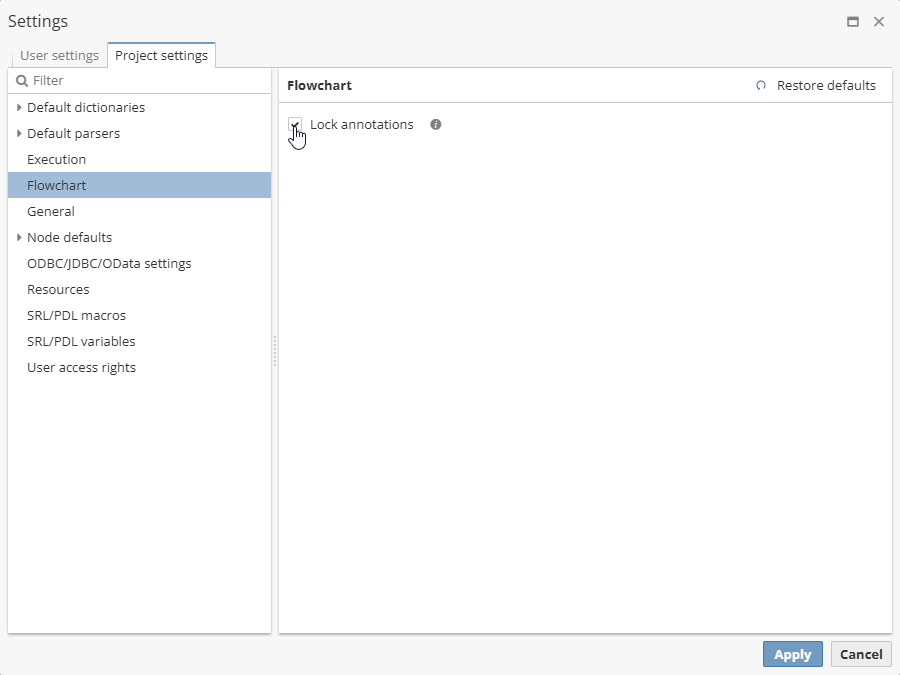
A similar option in the User settings allows you to lock annotations for all projects.
Note that the setting will take effect after the page is refreshed. PolyAnalyst will prompt to unlock the annotation if the user attempts to manipulate the annotation.