An introduction to configuring nodes
To configure a node, open its Properties window.
About the Properties window
The following is an example of a properties window:
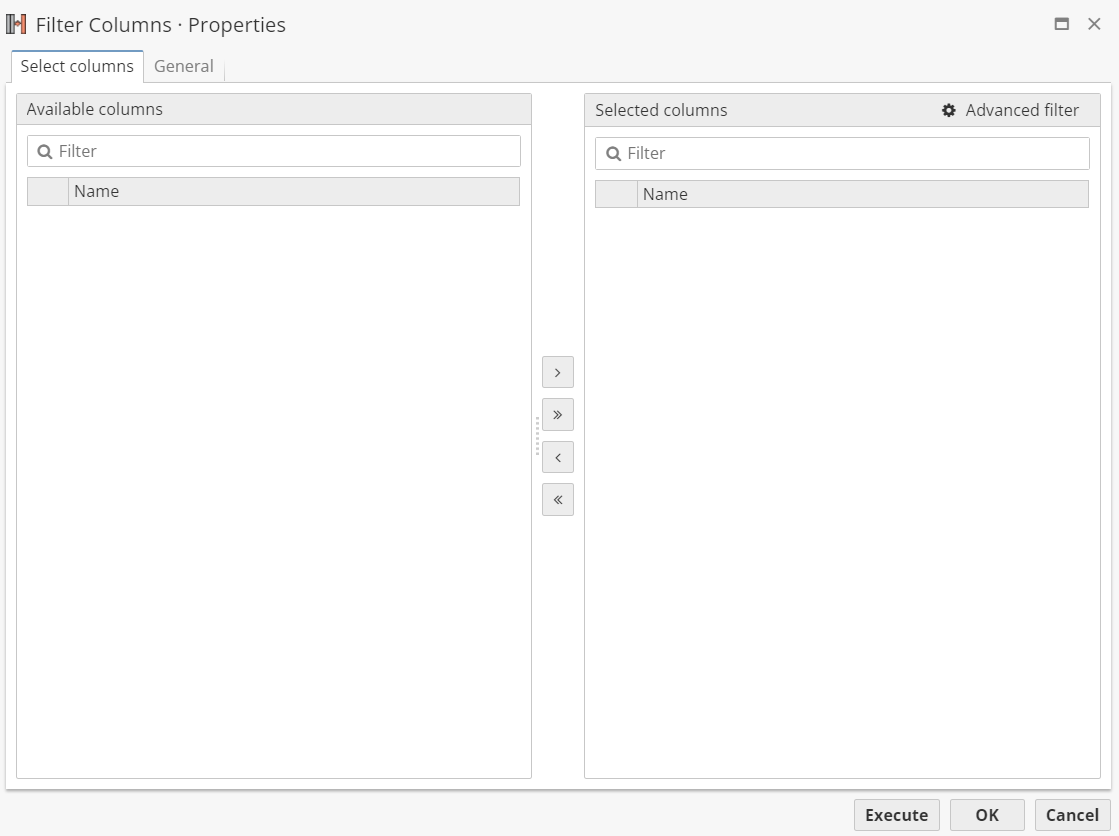
Every node in PolyAnalyst provides a unique properties window with various tabs and options. Certain tabs, such as the General tab, are common to most of PolyAnalyst’s nodes.
Generally, you will want to work from left to right, configuring each tab in succession.
Opening the properties window for a node
Right click on a node on the flowchart and select Properties to open the properties window for a node.
Alternatively, right click on the node in the Project Tree panel and select Properties.
If the node has not been configured, you can open the properties window by double clicking on the node’s icon within the flowchart.
When working with a properties window that displays a large amount of information, there may be a delay when opening the window as information is transferred from the server to the client.
| You can only configure one node at a time. Most node properties windows are modal, meaning that you are restricted to working with only one open properties window at a time. Thus, you typically cannot view or interact with other features while viewing a node’s properties. |
However, there are a few exceptions. For example, Taxonomy nodes allow you to view and edit properties and still interact with other PolyAnalyst features. If a node is an exception to the general rule, it will state this in its description in the node reference.
| Some nodes do not provide configurable properties. The vast majority of nodes in PolyAnalyst provide configurable properties, but some do not. For example, the Incoming connection point node displayed in the view of a group node does not provide configurable properties. In such cases, the node’s right click menu does not contain a Properties option. |
About the General tab
The Properties window of all the PolyAnalyst nodes contains a tab called General. The following is an example:
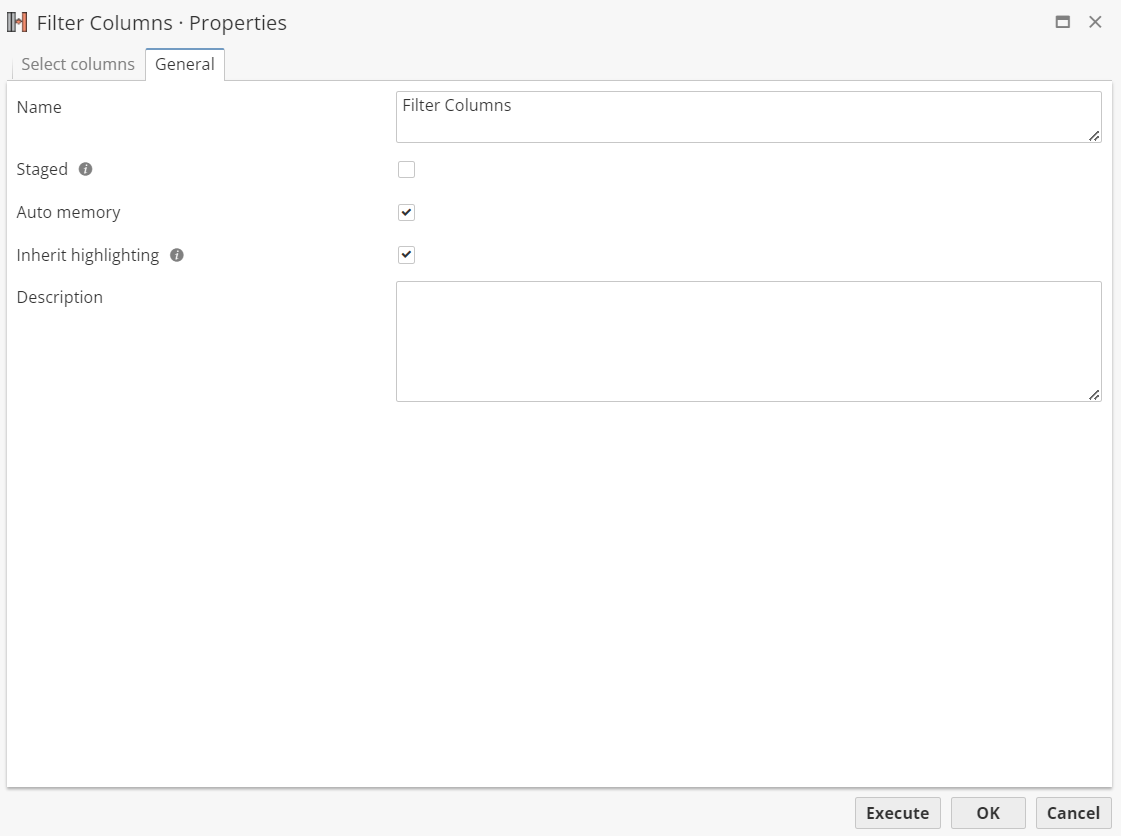
The General tab is mostly used to customize the name and description of a node. This tab is configured optionally.
Note, however, that there are also some other options advanced users might find very useful. The tab is described with more detail in a special section of the current manual.
Saving your changes
When you are finished with the configuration of a node, click the OK button in the lower right corner of the properties window to save your changes and close the properties window.
Alternatively, click Execute. Clicking Execute is a shortcut for clicking OK and then right clicking on the node and selecting Execute.
Saving the changes to a node’s properties still requires you to save the project before the changes become permanent.
To close the properties window without saving the changes, click Cancel.
Validating changes to properties
When saving changes, PolyAnalyst checks for configuration errors. If an error is found, you are presented with an error message, and will need to correct the changes before you are able to execute the node.
PolyAnalyst may display an error message upon clicking OK/Cancel/Execute even if you did not make any changes to the node’s configuration.
PolyAnalyst may also display an error message upon switching to a different tab. Generally, you will not be able to properly configure the tab to which you switched before correcting the issue on the tab from which you switched.
Correcting mistakes and revising properties
You can revise a node’s properties any number of times in order to correct mistakes or tune parameters.
| PolyAnalyst requires that node results correspond to a node’s current settings. If you execute a node and then later modify the node’s properties, the previous results are immediately and permanently deleted. In addition, if you are currently viewing the results of a node in a separate window, and click OK after making changes to the node’s properties, the results window will automatically close (and cannot be reopened because the results are deleted). |
Configure the CSV Source node to import a specific file
Try to configure a CSV Source node to import a specific CSV file. This section does not cover all of the properties of the CSV Source node.
-
Right click on the CSV Source node on the flowchart and select Properties. PolyAnalyst will display the properties window for the CSV Source node.
-
On the Select file tab, click Browse single file. PolyAnalyst will display an Open CSV file window.
-
Navigate to the Examples folder. This is a folder that contains some small example CSV files provided by Megaputer.
-
Select the file
CarData.csv. -
Click OK. PolyAnalyst will close the Open CSV file window and returns to the CSV Source node properties window. The text field to the left of the Browse single file button will now show the location of the selected file.
-
The Preview area occupying the bottom half of the Select file tab will now display a preview of the data:
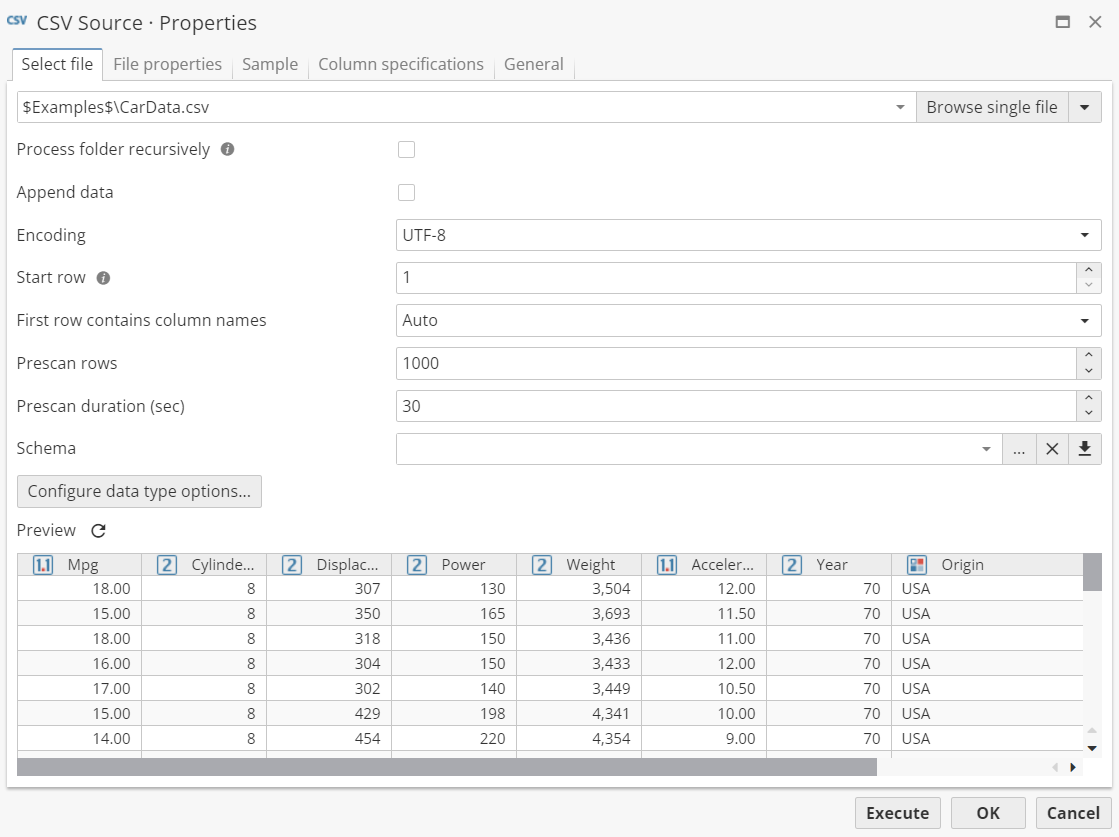
If the Preview appears empty or did not update, click Refresh.
-
At this point we have only changed a single property of the CSV Source node. We have not yet saved our changes, so the changes are temporary. Click OK. PolyAnalyst will then save the changes to the properties of the node and closes the properties window.
-
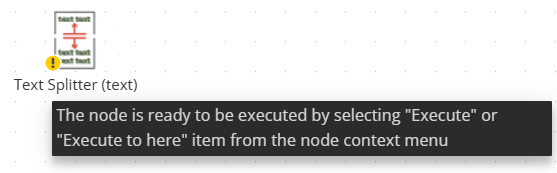
A small yellow exclamation point will appear in the lower left corner of the CSV Source node's icon on the flowchart. This indicates that the node is ready to execute its operation, which we will discuss in the next section of this manual.
About node tooltips
When hovering over a small icon (a red cross, a yellow exclamation point, a green checkmark, or a blue question mark) in the lower left corner of the node icon, a tooltip containing information about the node state is displayed: